Certification track: Professional Cloud Architect (PCA) · Professional Cloud Network Engineer (PCNE)
AWS EKS attached to a Google Cloud Fleet
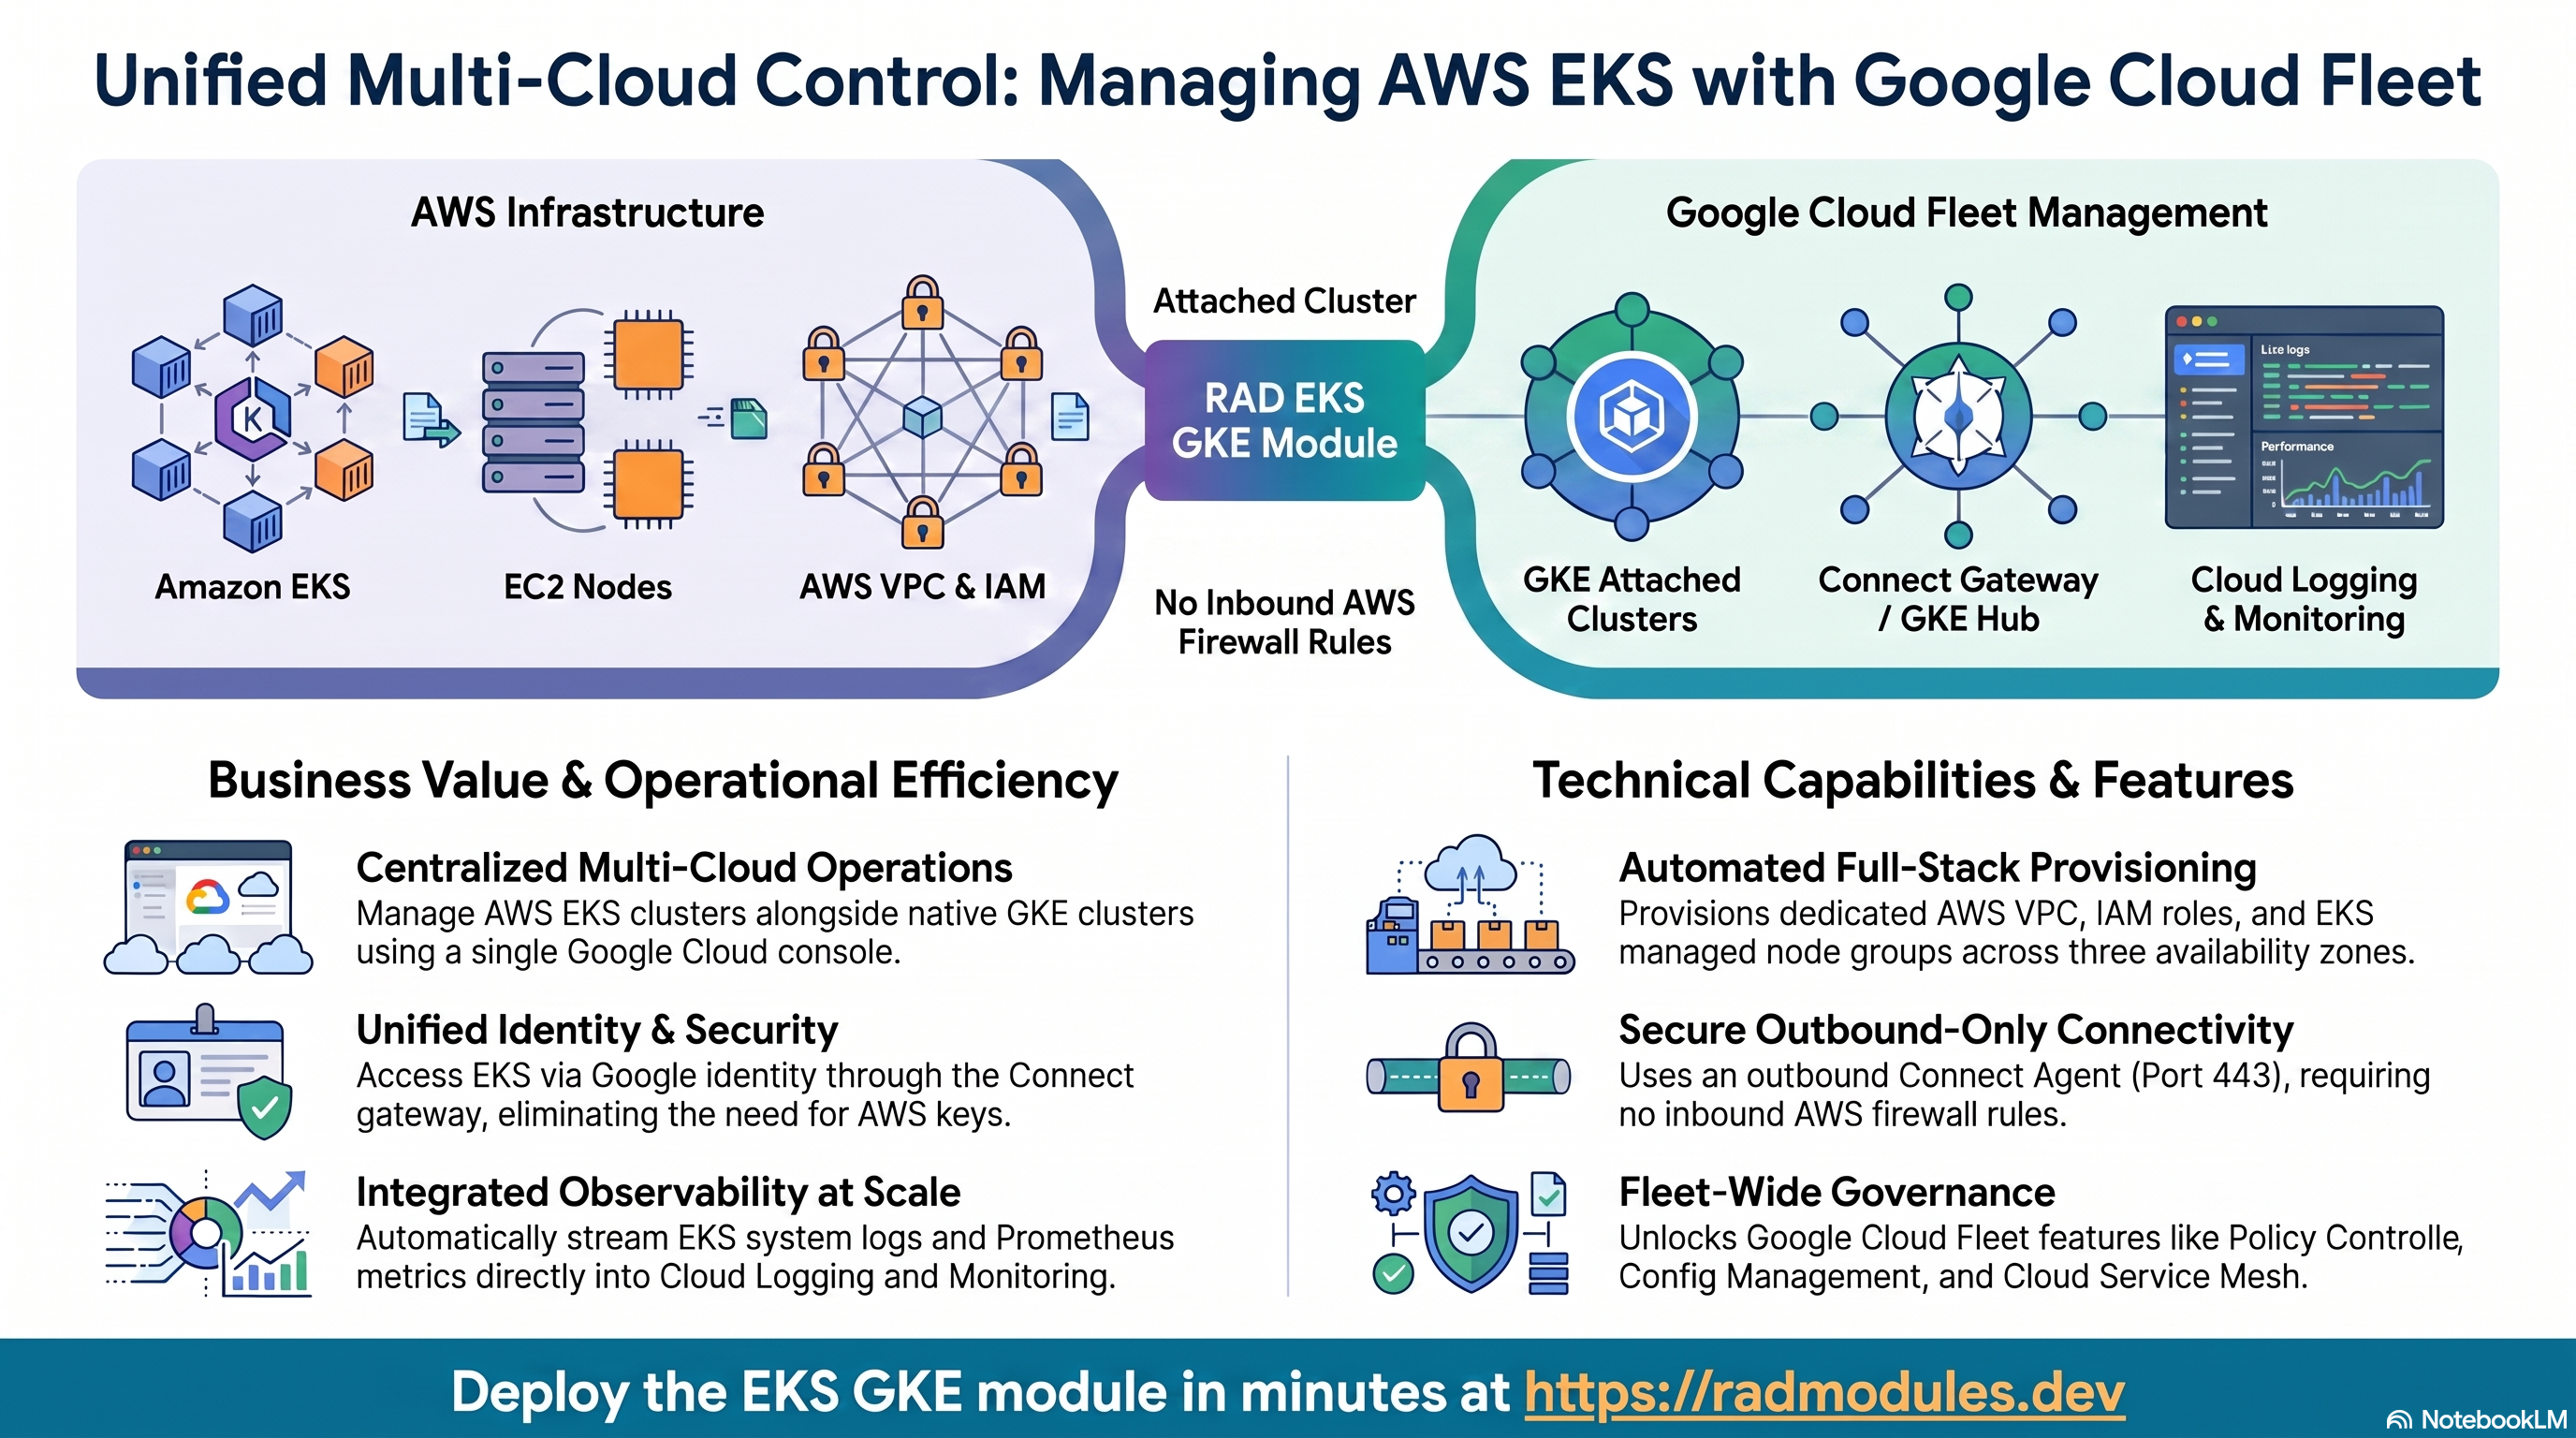
This module provisions a complete Amazon Elastic Kubernetes Service (EKS) cluster on AWS and registers it with Google Cloud as a GKE Attached Cluster — a member of a Google Cloud Fleet. Once attached, the EKS cluster appears in the Google Cloud console alongside any native GKE clusters in the same project and can be operated centrally: reached with kubectl through the Connect gateway using a Google identity (no AWS credentials), with its logs flowing to Cloud Logging and its metrics to Cloud Monitoring / Managed Service for Prometheus.
This is a standalone module. It does not build on an application foundation — it creates its own AWS networking, IAM, and EKS cluster, and its own Google Cloud Fleet registration. Because it touches both clouds, deploying it requires AWS credentials in addition to a Google Cloud project.
This guide focuses on the cloud services the module uses and how to explore and operate them from the Google Cloud Console, the AWS Console, and the command line.
1. Overview
The module creates two sets of resources — one on Google Cloud, one on AWS — and then connects them. The EKS control plane keeps running entirely on AWS; Google Cloud gains a management channel into it through an outbound-only Connect Agent installed inside the cluster.
| Capability | Service | Notes |
|---|---|---|
| Multi-cloud cluster management | GKE Attached Clusters (GKE Multi-Cloud) | Registers the EKS cluster with distribution eks; it shows as an Attached cluster in the console |
| Fleet membership | GKE Hub / Fleet | Cluster enrolls in the project's Fleet, unlocking Policy Controller, Config Management, multi-cluster services, and Cloud Service Mesh |
kubectl access | Connect gateway + Connect Agent | Run kubectl against EKS using your Google identity — no VPN, bastion, or AWS keys |
| Logging | Cloud Logging | SYSTEM_COMPONENTS and WORKLOADS logs forwarded from EKS |
| Monitoring | Cloud Monitoring + Managed Service for Prometheus | Managed Prometheus collection enabled on the attached cluster |
| Compute | Amazon EKS + managed node group | Kubernetes control plane managed by AWS; 2–5 EC2 worker nodes |
| Networking (AWS) | AWS VPC, subnets, IGW / NAT, route tables | Dedicated VPC across three Availability Zones |
| Identity (AWS) | AWS IAM roles | One role for the EKS control plane, one for the worker nodes |
Things to know up front:
- AWS credentials are required. You must supply
aws_access_keyandaws_secret_keyfor an AWS IAM principal able to create VPC, EKS, and IAM resources. Both are stored sensitively and never shown in logs. - Two clouds, two bills. AWS charges for the EKS control plane, EC2 worker nodes, and (in private-subnet mode) the NAT Gateway. Google Cloud charges apply to Fleet, logging, and monitoring usage.
- The EKS cluster stays on AWS. "Attached" is additive — Google Cloud does not run the control plane or move workloads. It adds a management plane on top of the existing EKS cluster.
- Outbound-only connectivity. The Connect Agent dials out to Google Cloud on port 443; no inbound AWS firewall rules are required. This works in both public and private subnet topologies.
- The deployer is always a cluster admin. The Google identity running the deployment is automatically granted Kubernetes
cluster-admin, in addition to anyone listed intrusted_users. - Kubernetes and platform versions must match.
k8s_version(the EKS minor version) andplatform_version(the GKE Attached Clusters version) must correspond — Google Cloud validates this at registration. - The Fleet/console name is exactly
cluster_name_prefix. AWS resources also get a short random suffix, but the attached-cluster registration and Fleet membership use the prefix verbatim — so two deployments sharing a prefix in the same project will collide on the Google Cloud side. - No managed database, storage, or secrets. Unlike application modules, this module provisions only the cluster, its networking, and its Fleet registration.
2. Cloud Services & How to Explore Them
The Google Cloud commands assume PROJECT, GCP_REGION (the Fleet location), and CLUSTER_NAME are set (CLUSTER_NAME is the value of cluster_name_prefix). The AWS commands assume AWS_REGION is set and the aws CLI is configured with credentials for the same account.
To get a kubectl context through the Connect gateway (no AWS credentials needed):
gcloud container attached clusters get-credentials "$CLUSTER_NAME" \
  --location "$GCP_REGION" --project "$PROJECT"
A. GKE Attached Clusters (multi-cloud registration)
The registration is the heart of the module — it tells Google Cloud the EKS cluster's OIDC issuer, Fleet project, logging/monitoring configuration, and admin users.
- Console: Kubernetes Engine → Clusters. The EKS cluster appears with Type = Attached and distribution EKS; its detail page shows platform version, Fleet membership, and registration status.
- CLI:
gcloud container attached clusters list --location=- --project "$PROJECT"
gcloud container attached clusters describe "$CLUSTER_NAME" \
  --location "$GCP_REGION" --project "$PROJECT"
# List platform versions valid for a region (use this when upgrading):
gcloud container attached get-server-config --location "$GCP_REGION" --project "$PROJECT"
B. Fleet (GKE Hub) & the Connect gateway
The cluster is enrolled as a Fleet member, which is the prerequisite for fleet-wide features and for Connect-gateway kubectl access.
- Console: Kubernetes Engine → Fleet for membership; Feature Manager to enable Policy Controller, Config Management, etc.
- CLI:
gcloud container fleet memberships list --project "$PROJECT"
gcloud container fleet memberships describe "$CLUSTER_NAME" --project "$PROJECT"
gcloud container fleet features list --project "$PROJECT"
# After get-credentials, standard kubectl works through the gateway:
kubectl get nodes -o wide
kubectl get pods -A
C. Cloud Logging
The attached cluster forwards Kubernetes system-component logs and workload (container) logs to Cloud Logging via the Connect Agent — no log agent to operate on AWS.
- Console: Logging → Logs Explorer (resource Kubernetes Cluster → your cluster), or Kubernetes Engine → Clusters → your cluster → Logs.
- CLI:
gcloud logging read \
  'resource.type="k8s_cluster" resource.labels.cluster_name="'"$CLUSTER_NAME"'"' \
  --project "$PROJECT" --limit 20
gcloud logging read \
  'resource.type="k8s_container" resource.labels.cluster_name="'"$CLUSTER_NAME"'"' \
  --project "$PROJECT" --limit 20
D. Cloud Monitoring & Managed Service for Prometheus
Managed Prometheus collection is enabled on the attached cluster; metrics land in Cloud Monitoring with the same Kubernetes-aware dashboards used for native GKE.
- Console: Monitoring → Dashboards → GKE; Monitoring → Metrics Explorer (PromQL mode).
- CLI:
kubectl top nodes      # via the Connect gateway
gcloud monitoring metrics list \
  --filter='metric.type:kubernetes.io/node' --project "$PROJECT" | head
E. Amazon EKS (control plane & node group)
AWS runs the managed Kubernetes control plane; the module adds a managed node group of EC2 workers (default 2, max 5) spread across the configured Availability Zones.
- Console (AWS): Amazon EKS → Clusters → your cluster; EC2 → Instances for worker nodes.
- CLI:
aws eks list-clusters --region "$AWS_REGION"
aws eks describe-cluster --name "$CLUSTER_NAME" --region "$AWS_REGION"
aws eks describe-nodegroup --cluster-name "$CLUSTER_NAME" \
  --nodegroup-name "${CLUSTER_NAME}-node-group" --region "$AWS_REGION"
# eksctl is an alternative interface:
eksctl get cluster --region "$AWS_REGION"
F. AWS VPC & networking
A dedicated VPC (default 10.0.0.0/16) is created with subnets across three AZs. With enable_public_subnets = true (default), nodes sit in public subnets behind an Internet Gateway; with it false, nodes sit in private subnets and egress through a NAT Gateway.
- Console (AWS): VPC → Your VPCs / Subnets / NAT Gateways / Route Tables.
- CLI:
aws ec2 describe-vpcs \
  --filters "Name=tag:Name,Values=${CLUSTER_NAME}*-vpc" --region "$AWS_REGION"
aws ec2 describe-subnets \
  --filters "Name=tag:kubernetes.io/cluster/${CLUSTER_NAME},Values=shared" \
  --region "$AWS_REGION"
G. AWS IAM roles
Two least-privilege roles are created: one assumed by the EKS service (control plane), one assumed by the EC2 worker nodes (carrying the worker, CNI, and ECR-read-only managed policies).
- Console (AWS): IAM → Roles → search for
${CLUSTER_NAME}. - CLI:
aws iam list-attached-role-policies --role-name "${CLUSTER_NAME}-eks-role"
aws iam list-attached-role-policies --role-name "${CLUSTER_NAME}-node-group-role"
3. Behaviour
On apply, the module:
- Enables the required Google Cloud APIs on the target project (GKE Multi-Cloud, GKE Connect, Connect Gateway, GKE Hub, Anthos, Cloud Resource Manager, Logging, Monitoring, Ops Config Monitoring, Kubernetes Metadata).
- Creates the AWS VPC, subnets, routing, and — depending on topology — the Internet Gateway or the NAT Gateway (with an Elastic IP).
- Creates the two AWS IAM roles and attaches the EKS-required managed policies.
- Creates the EKS cluster and its managed node group, ensuring the IAM roles exist first.
- Installs the Connect Agent into the cluster (delivered as a Helm-managed install manifest fetched from Google Cloud) so it can establish the outbound management channel.
- Registers the cluster as a GKE Attached Cluster — passing the EKS OIDC issuer URL, the Fleet project, system + workload logging, Managed Prometheus, and the admin-user list.
Connect-gateway access model. Authorised Google identities (the deployer, plus everyone in trusted_users) are granted Kubernetes cluster-admin on the EKS cluster. They reach it through the Connect gateway: Google Cloud authenticates the identity, checks it against the cluster's admin list, and proxies the request through the Connect Agent to the EKS API server. No AWS credentials, VPN, or bastion are involved. Granting access to additional people takes two layers — a Google Cloud IAM role for gateway traversal (e.g. roles/gkehub.gatewayReader / gatewayEditor) and a Kubernetes RBAC binding for what they may do once through.
OIDC trust. Each EKS cluster runs its own OIDC provider. The module registers that issuer URL with Google Cloud so tokens issued by EKS can be verified by Google Cloud without static keys crossing clouds — the same trust model as native GKE Workload Identity.
Manual follow-up. The module registers and observes the cluster but does not deploy your applications, install a cluster autoscaler, or enable fleet features. After deploy you typically: configure kubectl via the gateway, deploy workloads, and optionally enable Policy Controller, Config Management, or Cloud Service Mesh from the Fleet Feature Manager. An Anthos Service Mesh helper exists as a separate sub-component and is not part of the core apply.
Runtime notes.
- The node group's
node_group_max_sizeis only a ceiling — actual scale-out beyond the desired count requires a cluster autoscaler, which this module does not install. - Upgrading Kubernetes means bumping both
k8s_versionandplatform_versionto matching versions in the same deploy. - Worker-node scale-out and AMI updates during version upgrades are handled by the EKS managed node group.
- The enabled Google Cloud APIs are intentionally not disabled on teardown, to avoid disrupting other workloads in the project.
4. Configuration Variables
Variables are grouped exactly as they appear on the deployment platform.
Group 1 — Project & Identity
| Variable | Default | Description |
|---|---|---|
project_id | (required) | Destination Google Cloud project where the cluster is registered as a Fleet member. Must already exist. |
gcp_location | us-central1 | Google Cloud region where the attached cluster is registered and appears in the console. Must support GKE Attached Clusters. |
aws_region | us-west-2 | AWS region for the EKS cluster, VPC, and supporting resources. subnet_availability_zones must be valid AZs in this region. |
aws_access_key | (required, sensitive) | AWS Access Key ID for the IAM principal that provisions EKS resources. Stored sensitively. |
aws_secret_key | (required, sensitive) | AWS Secret Access Key paired with aws_access_key. Stored sensitively; obtain it at key-creation time (it is not retrievable afterwards). |
trusted_users | [] | Google account emails granted Kubernetes cluster-admin via the Connect gateway. The deployer is always included automatically. Entries must be non-blank and unique. |
Group 2 — Network
| Variable | Default | Description |
|---|---|---|
vpc_cidr_block | 10.0.0.0/16 | IPv4 CIDR for the AWS VPC. Avoid overlap with VPCs you may peer with. |
public_subnet_cidr_blocks | 10.0.101.0/24, 10.0.102.0/24, 10.0.103.0/24 | CIDRs for the public subnets, one per AZ. Used when enable_public_subnets = true. Must be subsets of vpc_cidr_block. |
private_subnet_cidr_blocks | 10.0.1.0/24, 10.0.2.0/24, 10.0.3.0/24 | CIDRs for the private subnets, one per AZ. Used when enable_public_subnets = false. Must be subsets of vpc_cidr_block. |
subnet_availability_zones | us-west-2a, us-west-2b, us-west-2c | AWS Availability Zones to create subnets in. The count must match both CIDR lists, and the AZs must belong to aws_region. |
enable_public_subnets | true | true: nodes in public subnets behind an Internet Gateway (simpler, cheaper — good for labs). false: nodes in private subnets with egress via a NAT Gateway (recommended for production). |
Group 3 — Platform
| Variable | Default | Description |
|---|---|---|
cluster_name_prefix | aws-eks-cluster | Prefix for generated names; also used verbatim as the attached-cluster and Fleet-membership name. Lowercase letters, digits, and hyphens only. |
platform_version | 1.34.0-gke.1 | GKE Attached Clusters platform version (governs the Connect Agent). Must match the k8s_version minor. |
k8s_version | 1.34 | Kubernetes minor version on EKS. Must be EKS-supported in aws_region; the patch level is managed by EKS. |
node_group_desired_size | 2 | Worker nodes at deploy time. Must be within min/max. |
node_group_max_size | 5 | Autoscaling ceiling for the node group (requires a cluster autoscaler to actually scale out). |
node_group_min_size | 2 | Floor for the node group; 2 is recommended for high availability. |
5. Outputs
This module defines no outputs. There is no outputs definition in the module, and its published input/output reference confirms "No outputs." Record the following identifiers after a successful deploy so you can locate and operate the cluster:
| Identifier | How to obtain |
|---|---|
| Attached cluster name | gcloud container attached clusters list --location=- --project "$PROJECT" (equals cluster_name_prefix) |
| Fleet membership name | gcloud container fleet memberships list --project "$PROJECT" |
| Connect-gateway kubeconfig | gcloud container attached clusters get-credentials <name> --location "$GCP_REGION" --project "$PROJECT" |
| OIDC issuer URL | gcloud container attached clusters describe <name> --location "$GCP_REGION" --format="value(oidcConfig.issuerUrl)" |
| EKS cluster endpoint / status | aws eks describe-cluster --name <name> --region "$AWS_REGION" |
| VPC / subnet IDs | aws ec2 describe-vpcs / describe-subnets filtered by ${CLUSTER_NAME} tags |
6. Configuration Pitfalls & Sensible Defaults
Risk: Critical (data loss / outage / security) — High (service degraded) — Medium (cost or partial degradation) — Low (minor).
| Setting | Sensible value | Risk | Consequence if wrong |
|---|---|---|---|
aws_access_key / aws_secret_key | valid keys with EKS + VPC + IAM rights | Critical | Missing or under-privileged credentials fail the apply partway, potentially leaving partial AWS resources to clean up by hand. |
k8s_version + platform_version | matching minors (1.34 / 1.34.0-gke.1) | Critical | A mismatch is rejected at registration; the EKS cluster is created on AWS but never attaches to the Fleet. |
cluster_name_prefix (uniqueness) | unique per project | Critical | The Fleet membership uses the prefix verbatim — two deployments sharing a prefix in the same project collide on the Google Cloud side. |
deployment_id / cluster_name_prefix | set once | Critical | Changing after first deploy forces recreation of named resources — the cluster is destroyed and rebuilt. |
trusted_users | real Google emails | High | Wrong or empty list means only the deployer can reach the cluster via the gateway; others are locked out until RBAC is added by hand. |
subnet_availability_zones vs CIDR lists | equal lengths, AZs within aws_region | High | Mismatched counts or out-of-region AZs fail subnet creation and block the EKS cluster. |
enable_public_subnets | false for production | High | Public subnets give worker nodes public IPs — convenient for labs, but a larger attack surface for production. |
vpc_cidr_block | non-overlapping /16 | High | Overlap with a peered VPC breaks routing if peering is later introduced. |
| Teardown network path | same path as deploy | High | Destroy must reach the EKS API server to uninstall the Connect Agent; if the cluster is unreachable, teardown stalls. |
node_group_min_size | 2+ | Medium | A single node removes HA; node maintenance can take the whole cluster's capacity offline. |
node_group_max_size | sized for burst | Medium | The ceiling is meaningless without a cluster autoscaler installed; raising it alone does nothing. |
| NAT Gateway (private mode) | budget for it | Medium | Private-subnet mode adds NAT Gateway hourly + data-transfer charges on AWS. |
For the deeper conceptual walkthrough — OIDC federation, Fleet features (Policy Controller, Config Management, multi-cluster services), Managed Prometheus, and the optional Anthos Service Mesh add-on — see the GKE Attached Clusters documentation.