Finance Guide
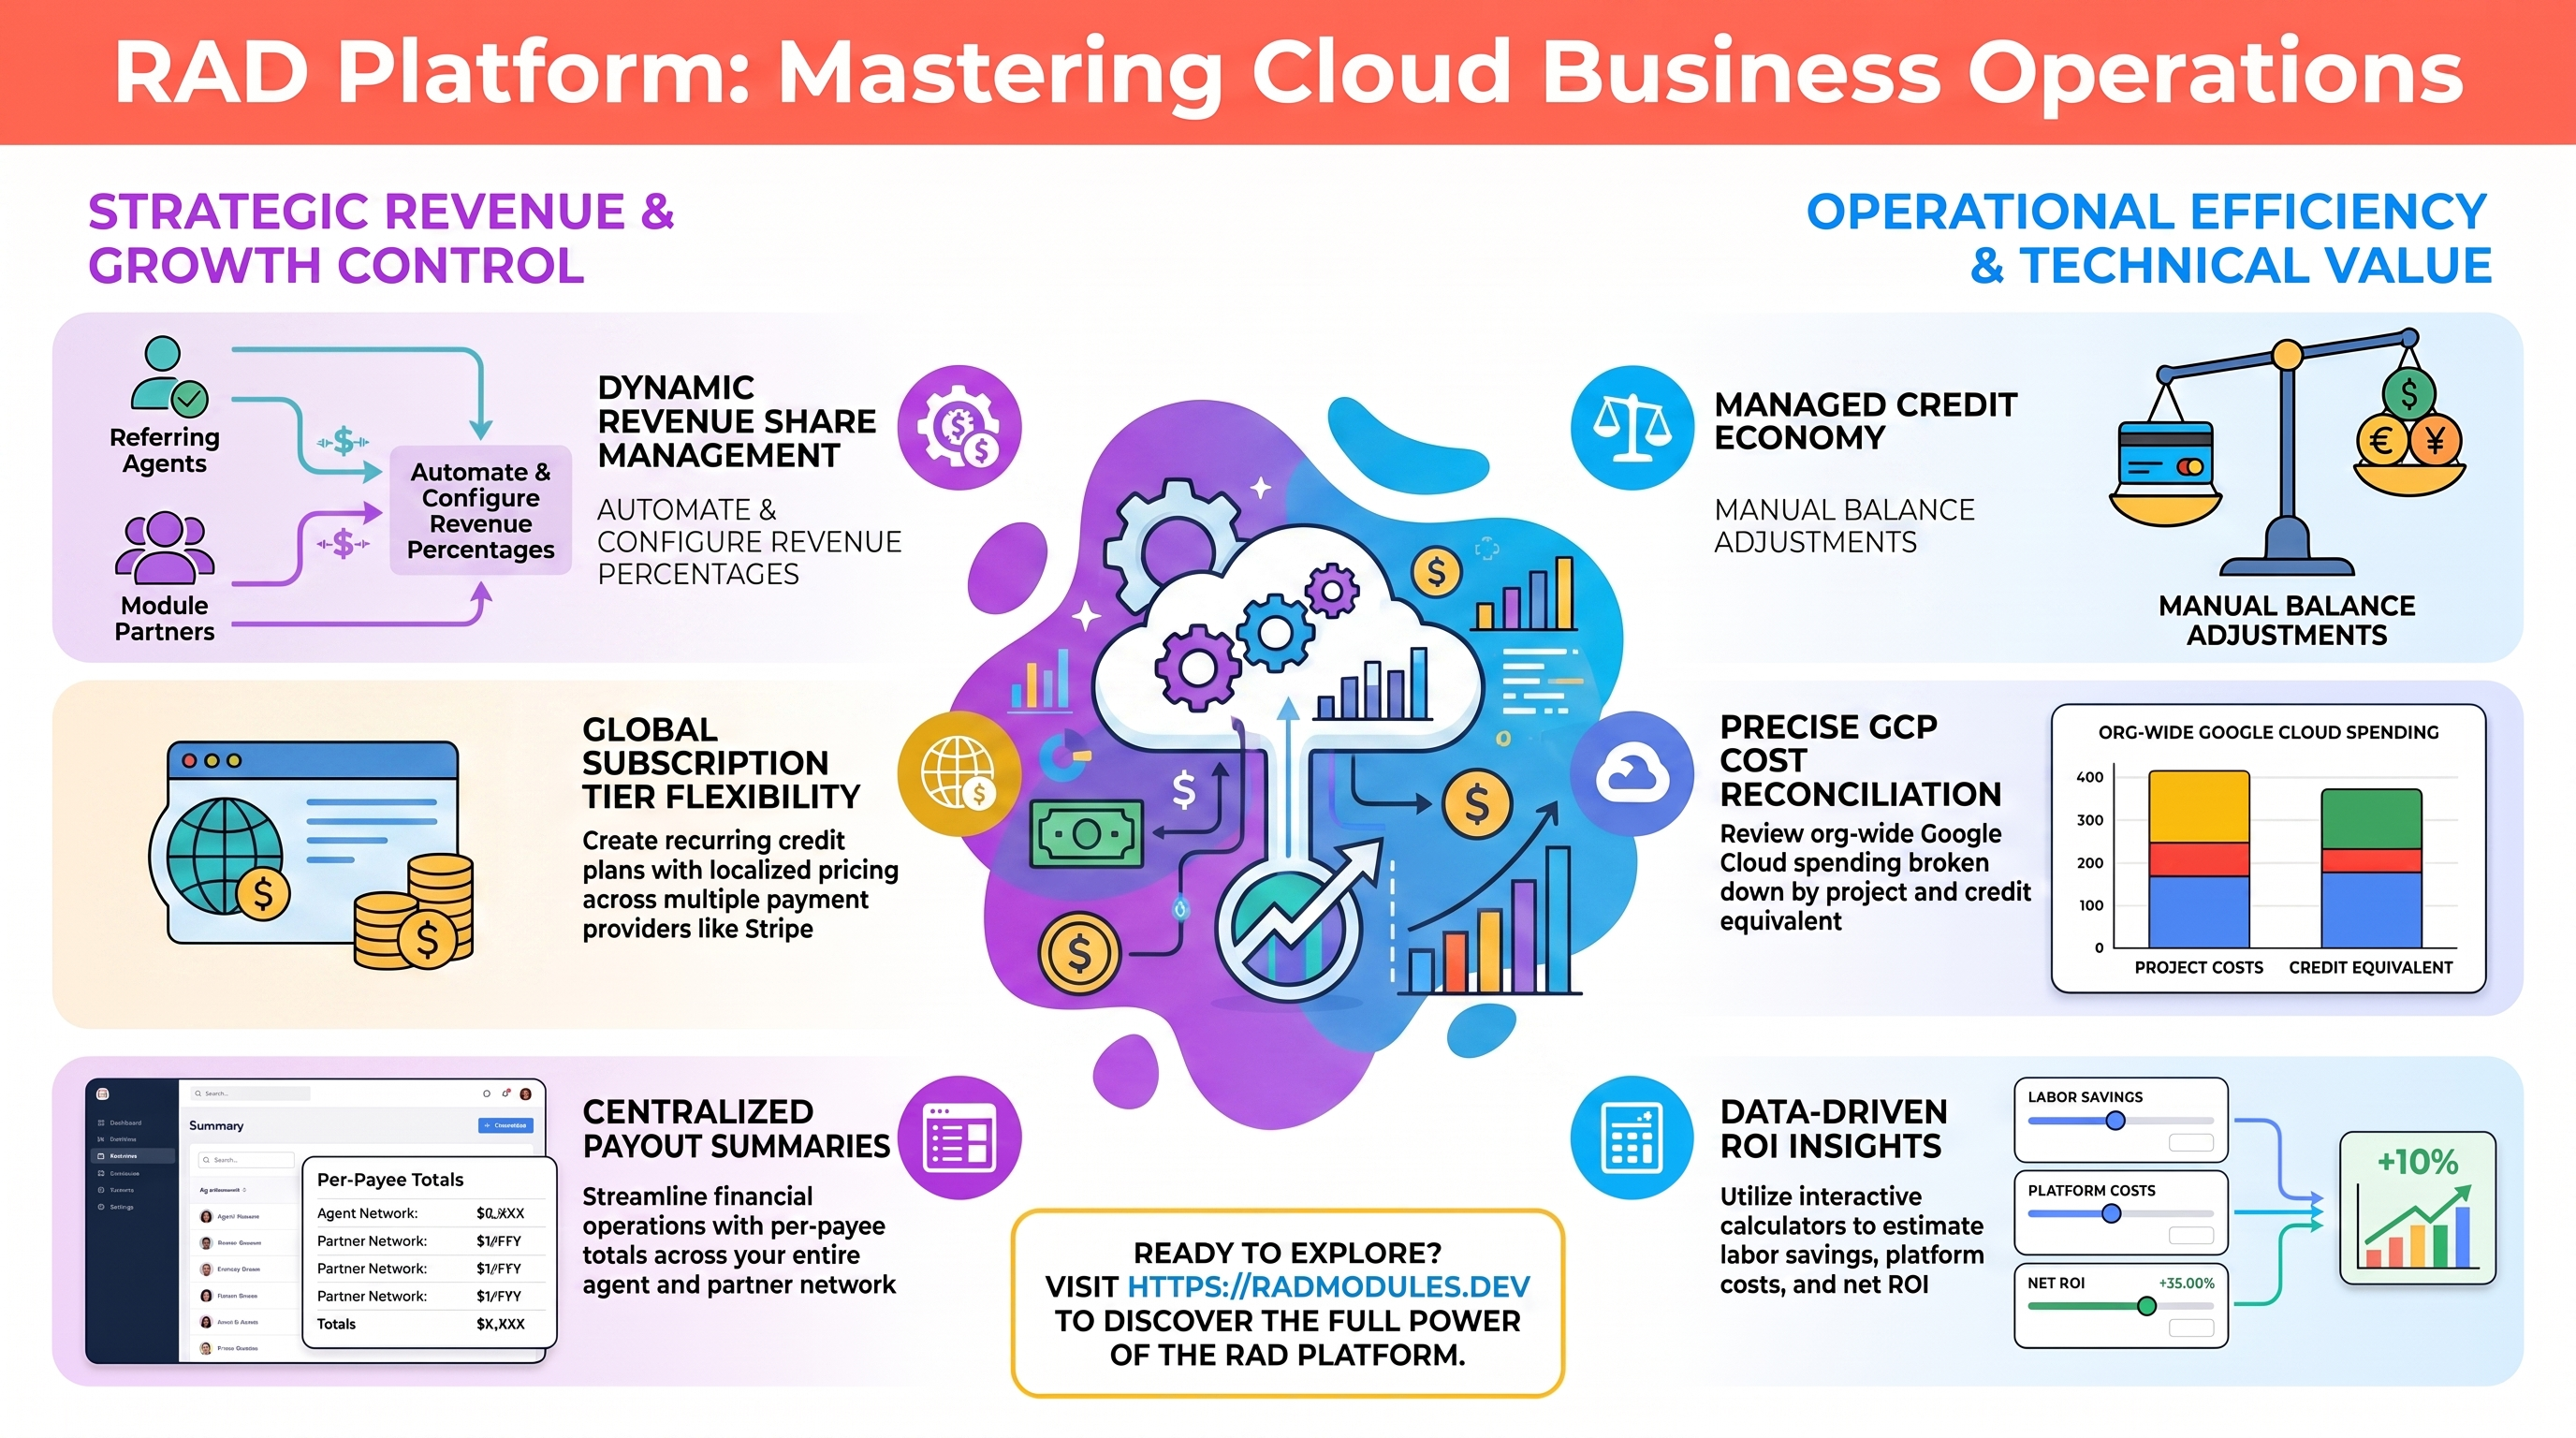
This guide is for people with the Finance role, who manage RAD's billing setup, run revenue and payout reports, and reconcile cloud costs. New to RAD? Start with Using RAD.
When you sign in as Finance, you land on the Billing page. Your navigation bar shows Billing and Help. (Setup Requests is a tab inside the Help page.)
What you can do
- Create and edit subscription plans and their per-provider prices (Subscription Tiers).
- Configure the credit economy — credits-per-unit and revenue shares (Credit Settings).
- Adjust any user's credit balance (Credit Management).
- Report on Partner Revenue and Agent Revenue.
- See per-payee payout totals (Payout Summary).
- Review org-wide GCP cloud costs (Project Invoices).
- View all users and the full lists of agents and partners; make limited user edits.
- Manage managed-setup requests (the Setup Requests tab on the Help page).
The Billing page
Open Billing from the navigation bar. The page is organized into seven tabs — Subscription Tiers, Credit Settings, Credit Management, Partner Revenue, Agent Revenue, Payout Summary, and Project Invoices — described below.
Subscription Tiers
Manage the recurring credit plans (tiers) that users can subscribe to. Each plan grants a set number of credits per billing cycle.
- Go to Billing > Subscription Tiers.
- Click to create a new tier, or select an existing one to edit.
- Set the plan's name, its price, and the credits it grants. The form shows what that price would buy at the current credits-per-unit rate, so you can see whether the tier is better value than a straight top-up. Then, on each provider tab, paste the identifier of the matching price you have already created in that provider's own dashboard — Price ID for Stripe, Plan ID for Flutterwave. The price and credits are shared by both providers; only the identifier differs.
- Save the tier. Update or remove tiers as your offerings change.
Above the tier table is a Payment Providers panel. Use it to switch Stripe and Flutterwave on or off — a provider's tab in the tier table stays disabled while that provider is off, and neither can be enabled until Credits and Subscriptions are both on. The same panel holds Reset Subscription Credits: leave it off and unused subscription credits carry over to the next billing cycle; switch it on and the allowance is replaced at each renewal instead of added to. Top-up credits are never affected either way.
Subscriptions only grant credits — they do not grant the Partner role.
Credit Settings
Configure the global parameters of the credit economy.
-
Go to Billing > Credit Settings.
-
Set the credits-per-unit value (how credits map to currency).
-
Set the revenue shares — the percentage of revenue allocated to referring agents (Agent Revenue Share) and to module partners (Partner Revenue Share).
-
Set the rest of the economy from the same tab. Each setting is its own small form with its own Save button, so you can change one without touching the others: the free-credit grants (Signup, Monthly, Referral and the referral limit), the low-credit trigger, credits-per-hour, the four module fees (CR and GKE, fee and setup fee), the RAD-Managed Module Discount, the deploy credit buffer, the Sandbox/Development/Production/Lab admission floors and monthly project budgets, the project credit margin, the deployment refresh interval, and the starting values for the ROI calculator.
-
Decide what a failed deployment is charged, on the Failed Deployments card. It has two independent switches, and each label states its own outcome ("Build cost charged" / "Build cost not charged", "Module fee charged" / "Module fee not charged"):
- Build cost — whether the metered Cloud Build time of a new deployment that fails or is cancelled is charged.
- Module fee — whether the module fee is charged for that deployment even though it never succeeded.
In the current release both are off: no failed deployment is charged anything. Turning either on applies to deployments that fail from then on; it never re-bills past failures. The switches cover the failure of a deployment's creation only — failed updates and teardowns are not charged, and lab deployments are billed through the trainer's session instead. Whatever you choose, charges for failures are capped per user (by default at three charged failures in any 24 hours), so a module that keeps failing cannot drain a customer's balance. A successful deployment is always charged in full, whichever way these are set.
This tab also holds Adjust All Credits, which applies the amount you enter to every user's balance at once — positive to grant, negative to deduct. Tick Free to move awarded credits, or leave it clear to move purchased credits. Large adjustments will not submit until you have given a reason and typed the confirmation phrase shown. Use Credit Management below to change one person instead.
Note: the master Credits on/off toggle is admin-only (set on the Admin Setup page). As Finance you see and configure the billing UI, but you do not switch credits on or off platform-wide.
Credit Management
Adjust an individual user's credit balances.
- Go to Billing > Credit Management.
- Search for the user by email.
- Click Edit and set the balances. There are three, and they behave differently: Awards are free credits reset each month, Subscription credits come from a plan and are replaced at renewal where reset is enabled, and Top-up credits were bought outright and never expire. Spending draws on awards first, then subscription, then top-up. Monthly Partner is not a spendable balance — it is the recurring allotment added to a partner's Awards each month.
- Save the change.
Two things to expect. You cannot adjust your own balance: the save is rejected and you are told to ask another finance or admin user, which keeps two identities on every grant. And if someone else changed that user's balance while your edit form was open, your save is rejected, the form closes and the table refreshes — re-open it and make the change from the current figure.
Partner Revenue
See revenue generated by partner-published modules and the share allocated to each partner.
- Go to Billing > Partner Revenue.
- Choose a start and an end date — both are required, and the range cannot exceed 366 days — then click Fetch Partner Revenue. Nothing loads until you do.
- With no partner or agent selected you are looking at full platform revenue for that period. Select one or more partners (or agents) to narrow it to their revenue share, calculated from the percentage set in Credit Settings. You can also filter by module.
- Each row shows the date, module name, user email, credit cost and revenue. Export to CSV takes the full filtered set, not just the page on screen.
Agent Revenue
Track commissions earned through the agent referral program.
- Go to Billing > Agent Revenue.
- Choose a start and an end date — both required, maximum 366 days — then click Fetch Agent Revenue. Pick one or more agents first to narrow the result to them.
- Each row shows the date, the referred user's email, the module, the credit cost and the revenue, calculated from the agent revenue share set in Credit Settings. Export to CSV takes the full filtered set.
Payout Summary
See per-payee payout totals across partners and agents. This tab is available to finance and admin only.
- Go to Billing > Payout Summary.
- Choose a start and an end date — both required, maximum 366 days — then click Calculate Payouts.
- Each row shows the payee's email, whether they're paid as an Agent, a Partner or both, the number of transactions, the purchased credits behind them, and the Amount Due in your billing currency. Period totals appear beneath the table, and Export to CSV gives you the same list to work from.
Project Invoices
Reconcile actual Google Cloud spending.
- Go to Billing > Project Invoices.
- Select a month, then click Fetch Project Invoice — the data doesn't load until you do.
- Each row shows the project's name and ID, its owner, the credit debit, and the total cost in your display currency. Monthly totals appear beneath the table, and Export to CSV exports every project for that month.
Per-deployment Module Costs are not a Billing tab — they live on the Credits page.
Viewing users, agents, and partners
As Finance you can see all users and the full lists of agents and partners.
- See and search every account on Billing > Credit Management — the table lists all users and has a "Search by email" box. There is no separate Users page for Finance; that one is admin-only.
- See the partners and agents on the platform through the pickers on Partner Revenue, Agent Revenue, and the Assigned Engineer field on Setup Requests.
Limited user edits
The only change you can make to a user account is to their credit balances (Awards, Purchases, and Monthly Partner Credits).
All roles — including granting or revoking the Partner role — and a user's active status are admin-only. The Credit Management screen may display an "Is Partner?" checkbox next to the partner-credit field, but submitting a role change as Finance is rejected by the server (403).
Setup Requests
Managed-setup requests from users who want RAD to handle a deployment for them appear here.
- Click Help in the navigation bar, then open the Setup Requests tab.
- Choose a status filter and a start and end date, then click Load Requests — nothing loads until a date range is set.
- Expand a request to work it: set its status (new, in-progress, completed or cancelled), choose an Assigned Engineer (only registered partners are accepted), record Revenue Achieved, and add internal notes. Click Save to apply.
- Saving a request as completed with revenue above zero is what calculates the split between platform and engineer revenue, so set the revenue figure before you mark it completed. Export to CSV gives you the loaded set for reporting.
Getting help
Click Help in the navigation bar:
- Support tab — a contact form that raises a support ticket and emails the support team.
- Setup Requests tab — described above.
- Support Tickets tab — the shared ticket queue. Because billing is one of its categories, you can triage it: Finance and admins may assign, reassign or clear a ticket's assignee to anyone, where support agents may only claim an unassigned ticket or release one they hold.
The ROI calculator is not on Help — it's a tab on the Credits page, after Buy Credits. Credits appears in your navigation only if your account also holds the ordinary user role; otherwise go to /credits directly.
A Contact us link in the footer also takes you to the Help page.
Need RAD to do something it does not do yet? Request it on the roadmap, or vote on what is already there.