Administrator Guide
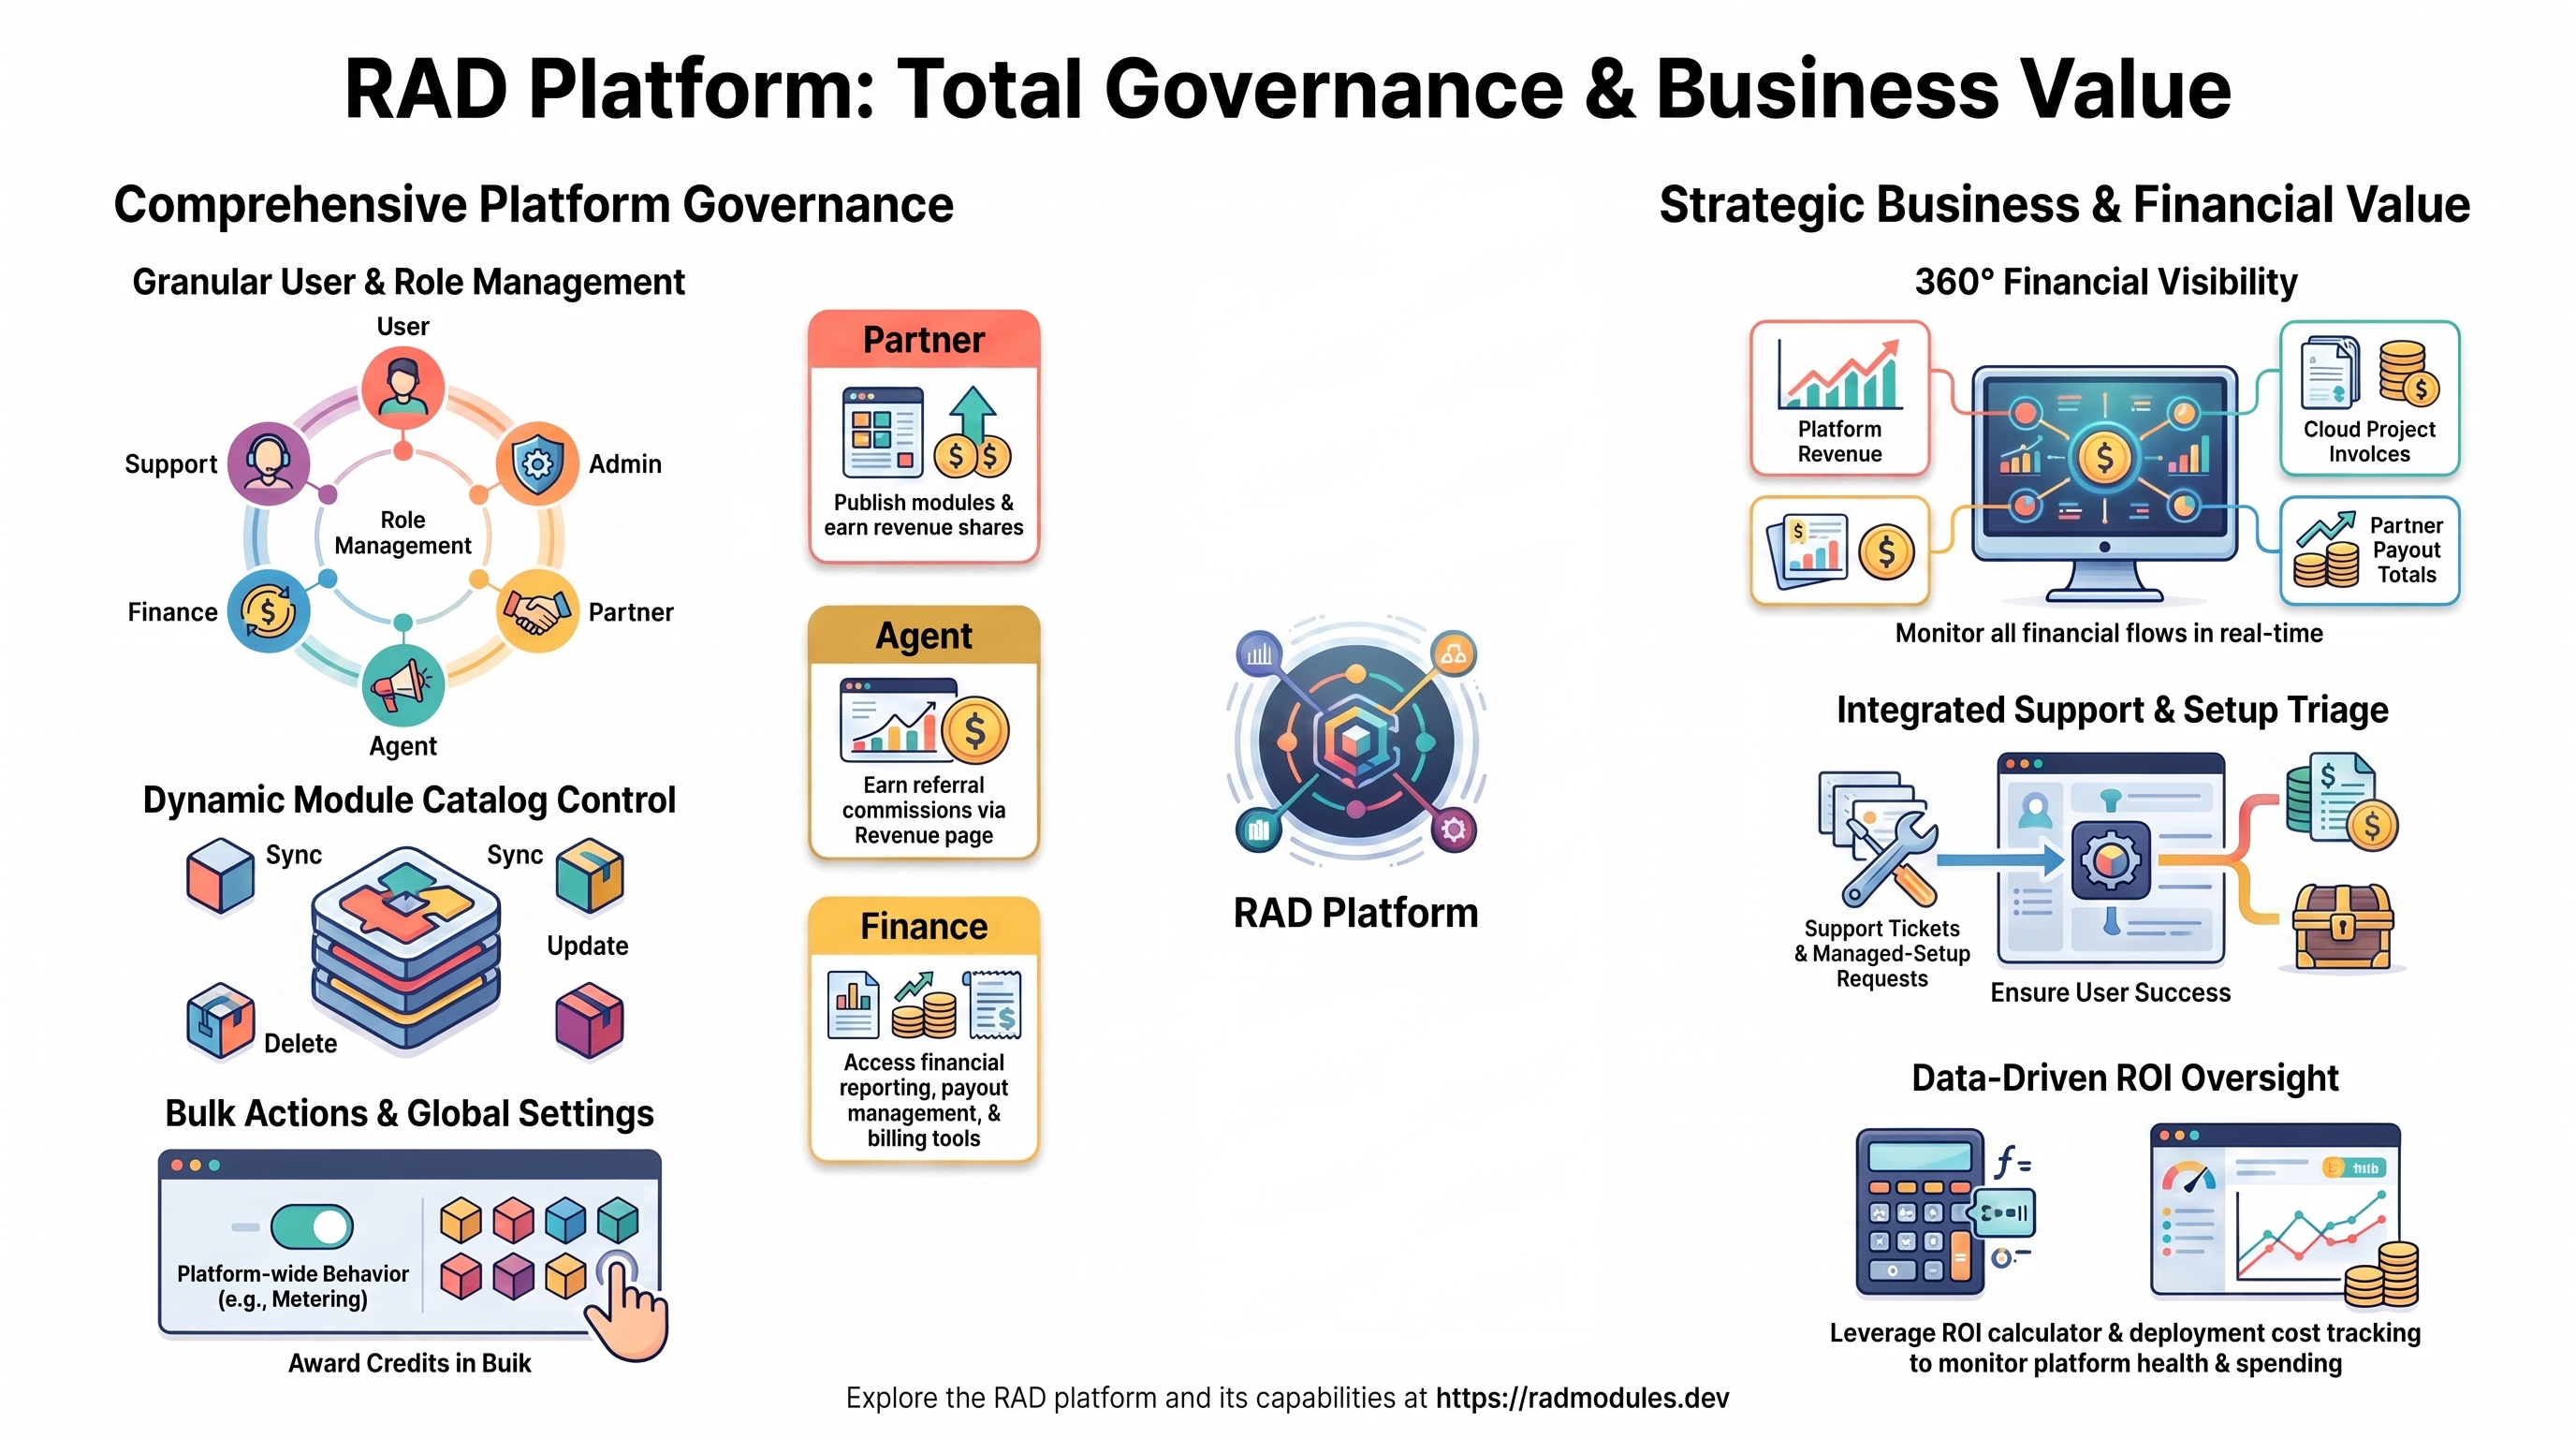
For administrators who run the RAD platform: managing users, roles, credits, modules, requests, and oversight. New to RAD? Start with Using RAD.
What you can do
As an admin you have superuser access. In addition to everything a standard user can do (build a solution from a description, browse the module catalog on Solutions → Solution Modules, configure and deploy, manage your own Deployments, use Credits, and the ROI calculator on the Credits page), you can:
- View, search, create, edit, activate/deactivate, and delete Users.
- Edit any user's credits and role flags (User, Partner, Agent, Finance, Support, Admin).
- Award credits in bulk and message users.
- Configure platform-wide behavior on the Setup page, including turning Credits on or off.
- Sync platform modules into the catalog from their GitHub repository.
- Handle Setup Requests and Support Tickets (tabs on the Help page).
- See all revenue, costs, invoices, and payouts across the platform.
After you sign in you land on Solutions, on the Build Solution tab — the same landing every non-finance, non-agent role gets, so the first screen is what can be built rather than the list of what was built last time. Your top navigation shows: Setup, Users, Explore, Sync, Deployments, Solutions, and Help. The module catalog is the Solution Modules tab on Solutions; it no longer has its own menu entry. Setup Requests and Support Tickets are tabs inside the Help page rather than top-level navigation items.
Managing users
Go to the Users page to manage everyone on the platform.
View and search. You see a searchable, paginated list of all registered users. Search to find a user by email, then read their row: role badges beside the address, and a checkbox for each role flag and for their active status. Credit balances are not shown here.
Create a user. Switch on Private Mode in Setup and two buttons appear above the user list. Add New User creates an account directly so that person can sign in. Restore User re-admits someone you previously deleted, clearing the record that was blocking their email — they get no fresh sign-up credits. Neither button appears, and neither action is accepted, while the platform is in public mode, because people can register for themselves.
Edit roles. Open a user's row and set:
- Active status — see Activate/deactivate below.
- Role flags — Admin, User, Partner, Support and Trainer are always shown. Agent and Finance appear only once Enable Subscription is switched on in Setup (see Assigning roles). Ticking Trainer also opens a cohort roster box for that user.
Save your changes to apply them.
Editing credits is elsewhere. Per-user balances live on the Credit Management tab of the Billing page, which edits Awards, Subscription and Top-up separately. Nobody — admins included — can change their own balance; ask another admin or finance user, so the record carries two identities.
Activate or deactivate. Toggle a user's active status to grant or revoke access. Safeguards apply: you cannot deactivate an account that holds the Admin role.
Delete a user. Deleting a user permanently deletes their modules and deployments, then deletes the account. A user with any live (not yet destroyed) deployment can't be deleted — destroy those first. A minimal record is kept only to stop the same email re-registering, and credit-transaction history is preserved for audits.
Safeguards to know.
- You cannot deactivate an admin.
- You cannot remove the last admin on the platform, and you cannot delete the last admin's account either.
- A founding (bootstrap) admin cannot have their admin role revoked and cannot be deleted. Remove their email from the bootstrap admin allow-list first, then retry.
- Nobody can change their own credit balance, admins included.
- There is no way to sign in as, or impersonate, another user. Admin oversight is done through the Users, Deployments, and reporting pages, not by acting as someone else.
Assigning roles
RAD has seven roles: User, Admin, Partner, Agent, Finance, Support, Trainer. A person can hold several at once (for example Agent + Partner). A Partner is always also a User. Roles are granted by an administrator via the Users page and stored on the user's account record (the founding admin is pinned via a bootstrap allow-list).
Set a user's roles by editing their row on the Users page and toggling the role flags. What each role unlocks:
- User — the default. Deploy modules and manage their own deployments and credits.
- Admin — full platform administration (this guide).
- Partner — publish modules from their own repository and earn partner revenue. Granting Partner is manual; subscribing to a credit plan does not grant it.
- Agent — earn referral commission from users they referred; uses the Revenue page.
- Finance — financial reporting and payouts; uses the Billing page.
- Support — help-desk triage of Support Tickets (a Help-page tab). A support agent sees deployments only for the customers whose open tickets are assigned to them, and never a deployment's variables or outputs. Resolving or closing the ticket ends that access.
- Trainer — provisions lab environments for a cohort. Ticking Trainer opens a cohort roster beside the flag: the participant email addresses this account may deploy for and whose lab deployments it may see, one per line, up to 30. The roster is the grant, so emptying it revokes the access without removing the role. Unlike Support, a trainer may destroy what they provisioned — a cohort's deployments otherwise outlive the course — but never reads a deployment's secrets or outputs, and never sees a participant's own personal deployments.
See the Trainer Guide for the trainer's own view of this.
How cohort provisioning works. A trainer deploys from the ordinary module form. Switching on GCP Project on RAD reveals a Deploy for participants selector; choosing participants provisions one deployment each, owned and charged to that participant rather than to the trainer, in a single action. Those deployments use the lab tier, which has its own folder, org policies and budget. The tier is selected automatically when participants are chosen and is not offered as a manual choice on any form.
Bulk credit awards and messaging users
Two bulk actions are available to you, and neither is on the Users page:
- Award credits in bulk — the Credit Settings tab on the Billing page. The adjustment applies to every user at once; you cannot pick a subset. Enter a positive amount to grant or a negative one to deduct, and choose whether it lands as free award credits or as purchased credits. Amounts of 10,000 or more need a reason and a typed confirmation, and credits must be enabled platform-wide. To change one person's balance instead, use Credit Management on the same page.
- Message users — the Support tab on the Help page, which shows you a message form rather than the support form other users see. Send to all users, or search for and select up to 100 recipients; messages are capped at 5,000 characters.
These are the fastest way to run promotions, top up balances after an outage, or send a platform-wide announcement.
Platform settings (Setup)
The Setup page is where you configure platform-wide behavior. Adjust settings here whenever you need to change how the platform runs, then save.
Key controls available to you include turning Credits on or off for the whole platform. When credits are off, the Credits page and credit costs are hidden for users; when on, deployments are metered in credits as described in Using RAD.
Enforce Update Safe controls what happens when someone edits a setting that cannot be changed on a running deployment — a region, an encryption key, a toggle that creates or destroys a resource. Modules declare which of their settings are safe to change in place; everything else is treated as destructive.
- Off (the default) — the field stays editable and changing it raises a confirmation naming exactly which settings will rebuild resources. The user decides.
- On — those fields are read-only while updating an existing deployment, so changing one means deleting and redeploying. Admins and partners are exempt.
Turn it on where an accidental rebuild is expensive — shared environments, customer-facing deployments, training cohorts. Leave it off where users are expected to reshape their own deployments.
Managing modules
You are responsible for the catalog of platform modules that every user sees on the Solutions → Solution Modules tab.
Sync platform modules. Go to the Sync page to bring platform modules into the catalog. The page is a read-only sync console: it lists the modules found in the platform repository, and the Sync Now action refreshes the catalog from that repository. Modules themselves are managed in the repository, not edited on this page.
Update a module. Change the module in the repository, then run Sync Now from the Sync page to refresh its definition (description, configuration fields, and credit cost) in the catalog.
Removing a module. Module management is read-only by default: the Module Console Read-Only setting on the Setup page ships switched on, which hides the delete action on module cards and makes the platform reject a console delete. To remove a module, delete it from its GitHub repository and let the next sync drop it from the catalog. Only if you turn that setting off does a delete action appear — and then you can delete any module, platform or partner-published.
Setup Requests
The Setup Requests tab on the Help page is where managed-setup requests are handled. Review incoming requests, track their status, and follow them through to completion. Finance also has access to this tab; as an admin you have full visibility into all requests.
Support Tickets
The Support Tickets tab on the Help page lists tickets raised through the Help form. Triage each ticket: update its status (new, in progress, resolved, closed), add notes, and assign it. Support-role users also work this queue; as an admin you see all tickets.
Visibility into revenue, costs, invoices, and payouts
You have platform-wide financial visibility:
- Revenue — all revenue across the platform, including partner revenue shares and agent (referral) commissions.
- Costs and invoices — module costs per deployment and Project Invoices (actual cloud cost per project per month).
- Payouts — per-payee payout totals.
These reports are the tabs of the Billing page. Two things to know before you go looking for them: your admin navigation has no Billing entry, so either grant yourself the Finance role as well (which adds it) or go to /billing directly; and every Billing tab requires Enable Subscription in Setup, so with that switched off the page opens with no tabs on it. Use them to monitor platform health, reconcile partner and agent earnings, and review project spending.
Getting help
On the Help page your Support tab shows the message form described above, not the support request form other users see; the Setup Requests and Support Tickets tabs sit next to it. The ROI calculator is a tab on the Credits page. The Contact us link in the footer also goes to Help. For sign-in, navigation, and core concepts like deploying modules and credits, see Using RAD.
Need RAD to do something it does not do yet? Request it on the roadmap, or vote on what is already there.